Template Documentation
First Steps
Upload your logo image
You can upload your logo image in the Template Options. If the logo is not uploaded, then your site name will be used.
Please, follow the steps below to upload your logo:
Step 1 - Login to your Joomla Dashboard.
Step 2 - Go to Extensions → Templates → Styles → SimpleX
Step 3 - Click Template Options button
Step 4 - In the Basic option you can see the Logo field, just click SELECT and choose your Logo now
Step 5 - Finaly, just click SAVE when finish.
First Steps
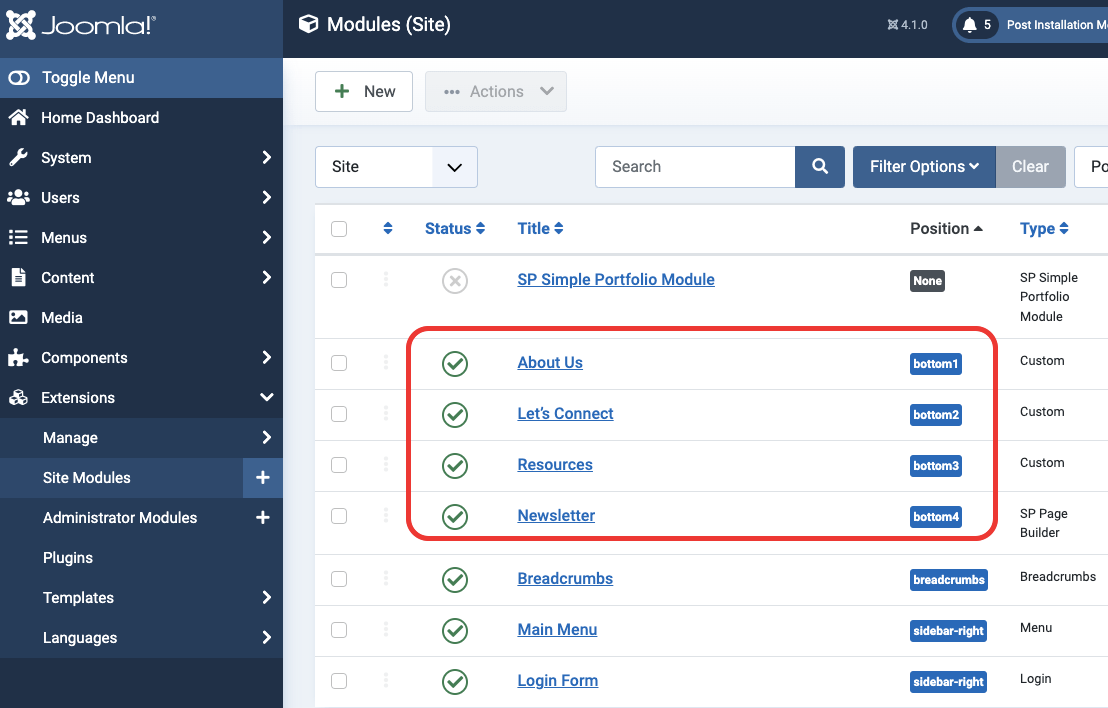
Bottom Modules
The bottom section of the template design was built using single bottom row and 4 module positions together with menu and SPPB modules.
First Steps
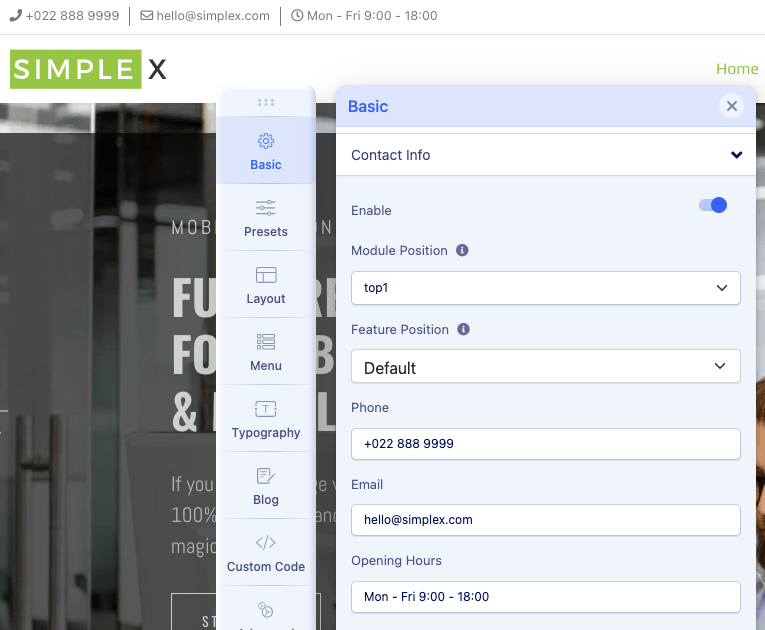
Change Contact Info
Contact info is information for customers to contact you such as email address, phone number, as well as working time. All of this information is easily changed via Template Options
Step 1 - Login to your Joomla Dashboard.
Step 2 - Go to Extensions → Templates → Styles → SimpleX
Step 3 - Click Template Options button
Step 4 - In the Basic option you can see the Contact Info field, just replace your contact info
Step 5 - Finaly, just click SAVE when finish.
 Watch a video how to change Contact Info
Introduction
Thank you for purchasing SimpleX Joomla Template. Before you get started, please be sure to always check out these documentation files. We outline all kinds of good information, and provide you with all the details you need know to use SimpleX template.
If you are unable to find your answer here in the documentation, please search our blog and watch our Video Tutorials. If you still can't find it, you can open a new topic on our Support System with all the details we need.
What is included in the price?
- SimpleX Template
- Demo Pages
- Kickstart Package
- Detail Documentation
- SP PageBuilder Pro
- Video Tutorials
- Premium Support
Thanks!
Stephen
Installation
Kickstart Installation
A Kickstart pack is actually a complete demo website and an entire Joomla package containing the CMS, components, modules, template, other necessary data, and configurations. In case of Kickstart, you don’t have to manually create or suit modules, component data or configure the CMS. Kickstarts also can be used to restore or recreate the demo site appearance. Kickstart packs contain demo layouts, demo contents and placeholder images. You can retain the demo layouts, but the demo texts and any demo images are not licensed for using on live sites.
You may get the readymade demo layouts by installing Kickstart packs. It's up to you whether you'll install a Kickstart pack on your local host or on a live server. Just keep in mind that, you are not allowed to use demo images or demo texts on live sites. So replace the demo texts and images with your own contents.
Watch video tutorialInstallation
Template Installation
If you already have a website, this is the option for you, it will only change the interface website without losing any content of your website.
Step 1 - Download your SimpleX template from TemplateMonster
Step 2 - Log in to your Joomla Dashboard.
Step 3 - Go to Extensions → Manager → Install
Step 4 - Choose this file: template_only.zip from your computer then click Install
Step 5 - Go to Extensions → Templates → Styles then set SimpleX is default
Step 6 - Click to SimpleX template → Template Manager button → Advanced tab → Import & Export then import setting file from download package
Installation
Import Setting
Please, follow the steps below to Import Template Setting:
Step 1 - Log in to your Joomla Dashboard.
Step 2 - In left sidebar menu, please go Extension → Templates → Styles
Step 3 - Click to SimpleX template → Template Option button
Step 4 - Go to Advanced option → Import & Export
Step 5 - Now, click Import Setting button and choose setting file from download package.
Step 6 - Click SAVE and enjoin the results.
Installation
Import Demo Pages
In SP Page Builder Pro once you create a custom design (Page, Row, and addon), you can save it for later use as many times you want.
We've pre-made the page and packaged it, you'll find it in the download package from TemplateMonster.
Creating your page will become simpler by importing existing pages, then editing as you like.
Please, follow the steps below to Import Demo Pages:
Step 1 - Log in to your Joomla Dashboard.
Step 2 - In left sidebar menu, please go Components → SP PageBuilder Pro → Pages
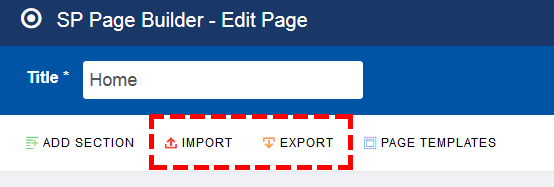
Step 3 - Click NEW button to create a new page
Step 4 - Click IMPORT button and choose file from your download package
Step 5 - Click SAVE button to finish
 Watch a video tutorial
Video Tutorials
Credits
The following resources have been used in the template:
- Helix Ultimate - Enjoy the Fastest Ever Site Building Experience on Joomla.
- SP PageBuilder Pro - #1 Drag & Drop Joomla Page Builder.
Many thanks to the authors.
Changelog
Version 1.1
- Add Kickstart Package for Joomla 3.10.6
- Upgrade Kickstart Package for Joomla 4.1.0
- Upgrade PageBuilder Pro to v3.8.5
- Upgrade Framework to v2.0.7